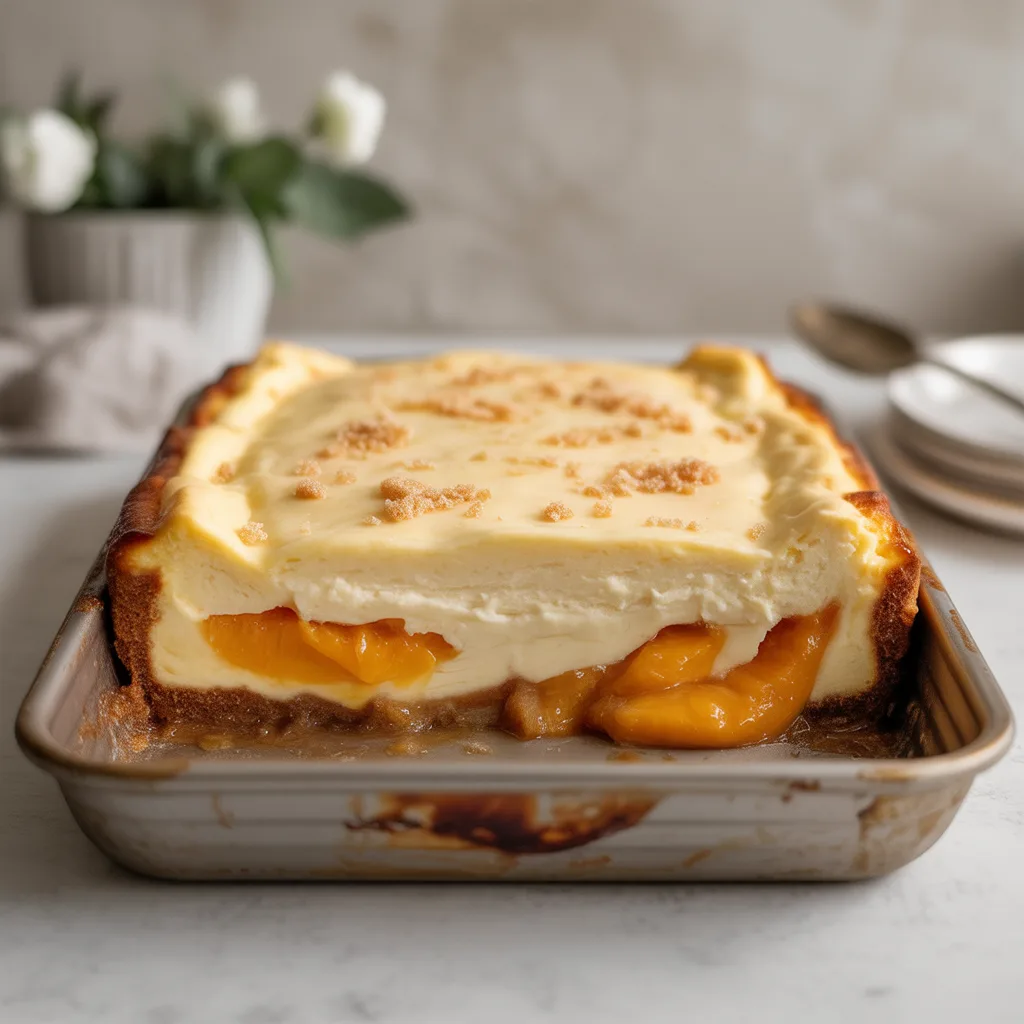
Is there anything better than the feeling of pulling a warm, bubbling dessert out of the oven? You know the one—the kind that makes the whole house smell like a hug and promises a scoop of pure comfort. Well, my friends, I think we’ve just found the ultimate summer dessert champion: this Peach Cobbler Style Cheesecake Bake. It’s the gorgeous, gooey love child of a Southern peach cobbler and a rich, creamy cheesecake. Seriously, what could be better? It’s the dessert you’ll want to bring to every potluck and serve on your prettiest plate.
Why You’ll Love This
First off, it’s ridiculously easy. We’re skipping the fussy water bath and the stress of a classic cheesecake. This recipe is all about the joy of baking without the pressure. You get that irresistible peach cobbler filling, all sweet and spiced, layered right underneath a simple, no-crust cheesecake batter that bakes up into something magical. The textures are just incredible—the creamy cheesecake melting into the warm, jammy peaches. So good. And the best part? It’s forgiving. A little more cinnamon? Great. A little less sugar? It’ll still be delicious. This is the kind of dessert that makes you look like a rock star with minimal effort.
Equipements Needed
- A 9×13 inch baking dish: This is our trusty vessel for all that goodness.
- Electric hand mixer or stand mixer: For getting that cheesecake filling perfectly smooth and lump-free.
- Mixing bowls: A couple of medium-sized ones will do the trick.
- Spatula: For scraping every last bit of goodness into the pan.
- Measuring cups and spoons: For making sure our ratios are just right.
Ingredients
- For the Peach Cobbler Layer:
- 8 cups sliced fresh or frozen peaches (about 8-10 peaches): The sweet, fruity star of the show.
- 1/2 cup granulated sugar: To sweeten those beautiful peaches.
- 1/4 cup all-purpose flour: Helps thicken the juicy filling.
- 1 tablespoon lemon juice: A splash of brightness to balance the sweetness.
- 1 teaspoon vanilla extract: For that warm, classic flavor.
- 1/2 teaspoon ground cinnamon: Adds a cozy, spiced warmth.
- For the Cheesecake Layer:
- 16 ounces cream cheese, softened to room temperature: The base of our creamy topping.
- 1/2 cup granulated sugar: Sweetens the cheesecake layer perfectly.
- 2 large eggs: Binds the cheesecake and gives it structure.
- 1 teaspoon vanilla extract: Echoes the flavor from the peach layer.
- 1/4 cup sour cream: The secret to a wonderfully tangy, smooth texture.
- For the Topping (Optional):
- 1 tablespoon coarse sugar: For a little sparkle and crunch on top.
Step By Step
- Prep your oven and pan. Preheat your oven to 375°F (190°C). Grab that 9×13 inch baking dish—no need to grease it.
- Make the peach filling. In a large bowl, gently toss the peach slices with the 1/2 cup sugar, 1/4 cup flour, lemon juice, 1 tsp vanilla, and cinnamon until the peaches are evenly coated. Pour this mixture directly into the bottom of your baking dish, spreading it into an even layer.
- Whip up the cheesecake layer. In another bowl, use your electric mixer to beat the softened cream cheese and 1/2 cup sugar together until it’s completely smooth and no lumps remain. This might take a couple of minutes. Scrape down the sides of the bowl.
- Add the wet ingredients. Beat in the eggs, one at a time, making sure each is fully incorporated before adding the next. Then, mix in the 1 tsp of vanilla and the sour cream until the batter is silky and uniform.
- Assemble and bake. Carefully spoon the cheesecake batter over the peach layer. Use a spatula to gently spread it to the edges, sealing in the peaches. If you’re using it, sprinkle the coarse sugar over the top. Bake for 35-45 minutes, or until the edges are set and the top is lightly golden. The center might still have a slight jiggle—that’s perfect! It will set up as it cools.
- Cool and serve. Let the bake cool on a wire rack for at least 30 minutes before serving. It’s fantastic warm, at room temperature, or even cold from the fridge.
Cheesecake Toppings Ideas
While this bake is a superstar on its own, a little topping can take it to the next level. For cheesecake desserts like this, think about texture and a pop of color. A scoop of vanilla bean ice cream is the classic, can’t-go-wrong choice. For a more grown-up vibe, try a drizzle of salted caramel sauce. If you want a fresh contrast, a handful of raspberries or a quick raspberry sauce would be a beautiful and tasty addition. And for a truly decadent twist, crumble some Biscoff cookies over the top right before serving for that famous Biscoff cheesecake flavor.
Variations & Substitutions
This recipe is a wonderful canvas for your creativity! Don’t have peaches? Use an equal amount of nectarines, apricots, or even a berry mix for a raspberry cake-inspired version. For a chocolate cake twist, you could fold a half-cup of chocolate chips into the cheesecake layer. If you’re looking for a nuttier flavor, substitute 1/4 cup of the flour in the peach layer with finely ground almonds. To make it gluten-free, a 1-to-1 gluten-free flour blend works perfectly in both layers. And honestly, if you’re not a fan of super-sweet desserts, you can reduce the sugar in the peach layer by a couple of tablespoons without any issue.
Make-Ahead & Freezer Tips
This is a fantastic dessert to get a head start on! You can assemble the entire bake, cover it tightly with plastic wrap, and keep it in the refrigerator for up to 24 hours before baking. Just add a few extra minutes to the baking time if it’s going into the oven cold. To freeze, bake and cool the cobbler completely. Wrap the entire dish tightly in a couple layers of plastic wrap and then foil. It will keep well for up to 3 months. Thaw it overnight in the fridge before reheating or serving cold.
Storage & Reheating
Store any leftovers covered in the refrigerator for up to 4 days. For the best texture, I love eating it cold straight from the fridge. But if you want that warm-from-the-oven feeling, reheat individual portions in the microwave for 30-60 seconds, or cover the whole dish with foil and warm it in a 300°F (150°C) oven for about 15-20 minutes. Be careful not to overheat it, as the cheesecake can separate.
Frequently Asked Questions
- Can I use canned peaches? You absolutely can! Just make sure to drain them very well first. You’ll need about two (15-ounce) cans.
- What’s the secret to avoiding a cracked top? The beauty of this recipe is that the casual, rustic look is part of its charm! But to minimize cracks, avoid overmixing the batter and don’t overbake it. That slight jiggle in the center is your friend.
- Can I make mini desserts with this recipe? Yes! For adorable individual portions, divide the filling among 12 greased muffin cups. The baking time will be shorter, around 20-25 minutes. These mini desserts are perfect for parties.
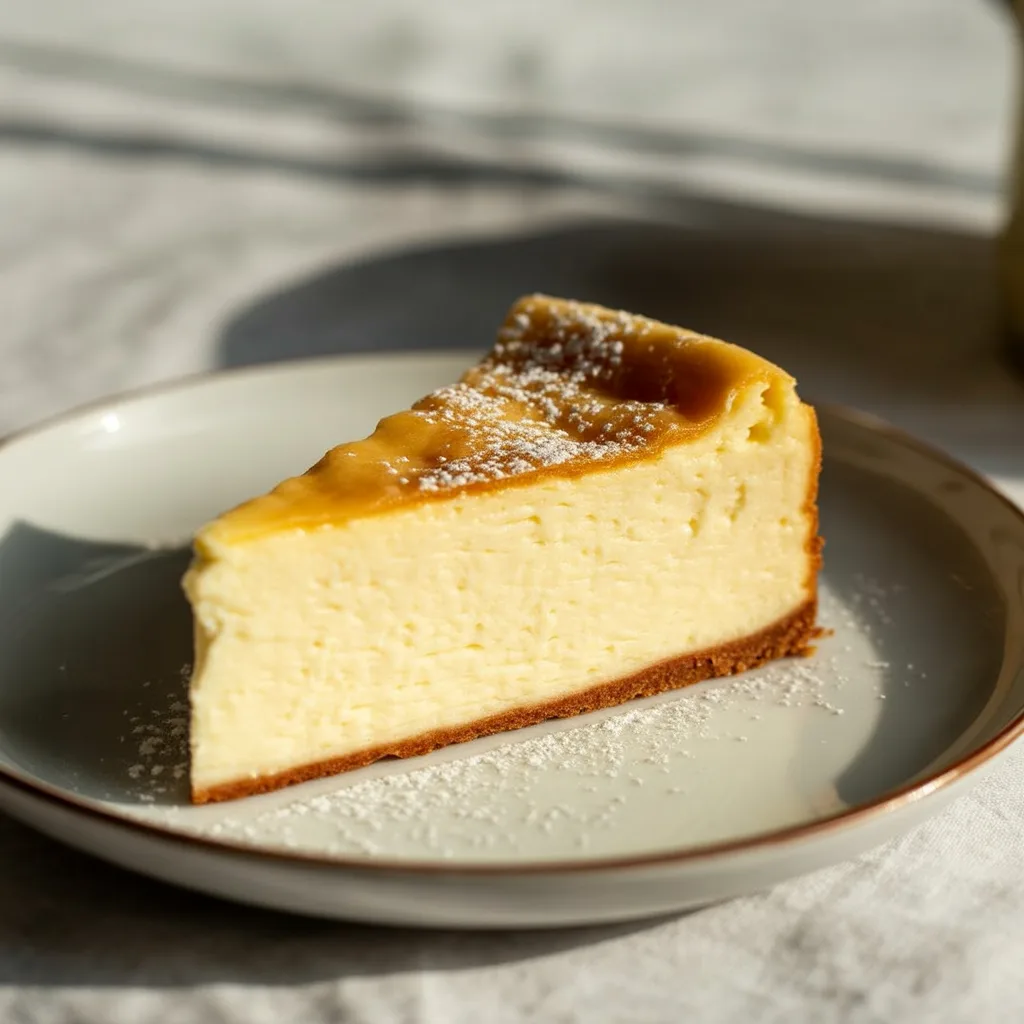
- Is this the best cheesecake recipe for beginners? I might be a little biased, but I truly think it is. It removes the technical hurdles of a traditional cheesecake and delivers incredible flavor and a beautiful, rustic cheesecake aesthetic every single time.
")