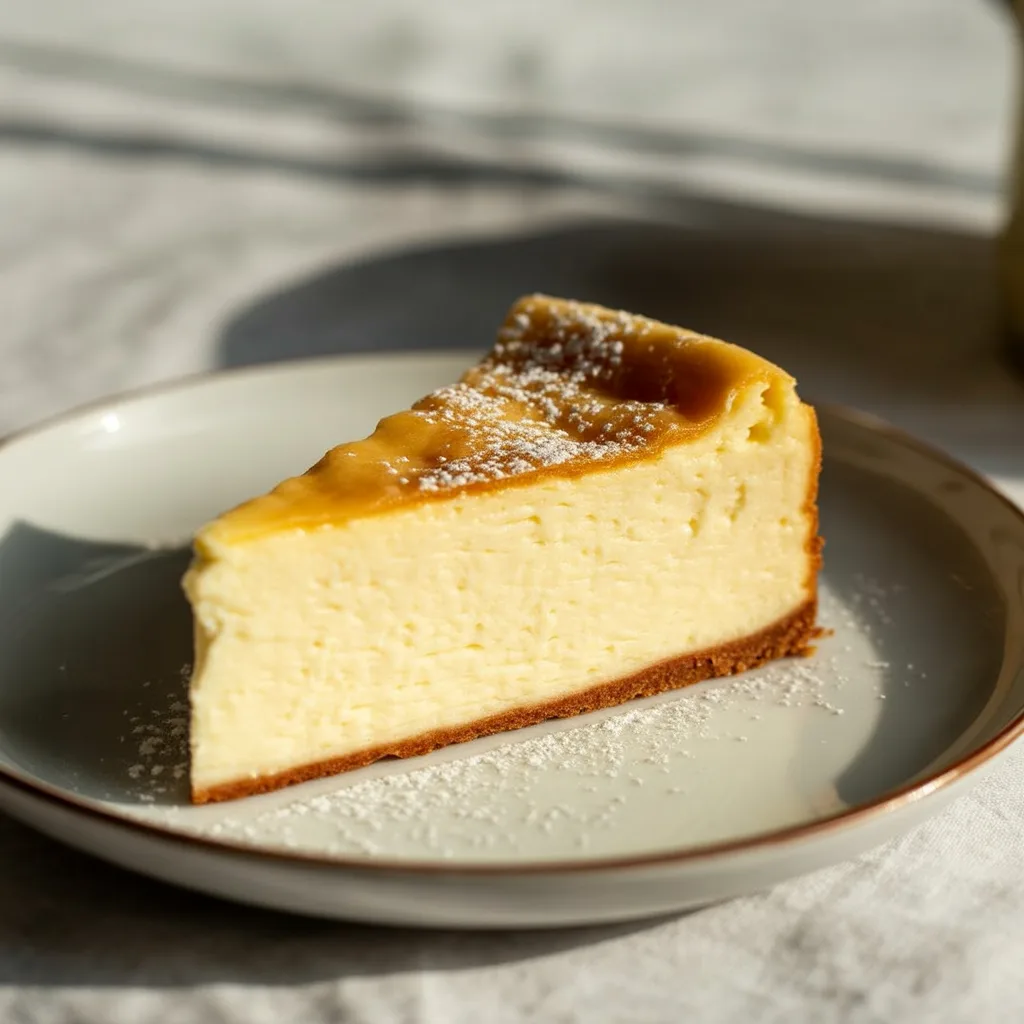
Is there anything more satisfying than cutting into a cheesecake and finding that perfect, creamy, dreamy center? You know the one I’m talking about. These Classic Cheesecake Squares are my go-to dessert for everything from potlucks to just-because Tuesdays. They deliver all the rich, tangy flavor of a full-sized New York-style cheesecake but in a perfectly portable, no-fuss square. Let’s make something delicious together!
Why You’ll Love This
First off, you don’t need a water bath. That’s right—we achieve that famously smooth texture without the fuss of wrapping your pan in foil. The recipe is incredibly forgiving, making it a fantastic project for bakers of any level. And because they’re pre-portioned, these squares are ideal for parties, gifting, or satisfying a sweet craving without committing to a whole cake. So good.
Equipements Needed
- 9×9 inch square baking pan: This is the perfect size for getting those thick, bakery-style bars.
- Parchment paper: Essential for creating a sling so you can lift the entire cheesecake out for easy slicing.
- Electric hand mixer or stand mixer: For getting that cream cheese perfectly smooth and lump-free.
- Medium mixing bowl: For combining your crust ingredients.
- Rubber spatula: To scrape down the bowl and ensure everything is well incorporated.
Ingredients
- For the Crust:
- 1 ½ cups graham cracker crumbs (about 10 full sheets): Forms the classic, buttery base.
- ⅓ cup granulated sugar: Adds a touch of sweetness to balance the crumbs.
- 6 tablespoons unsalted butter, melted: Binds the crumbs together and adds rich flavor.
- For the Filling:
- 24 ounces (three 8-oz blocks) full-fat cream cheese, room temperature: The star of the show for that rich, creamy center.
- ¾ cup granulated sugar: Sweetens the filling without making it grainy.
- ¾ cup full-fat sour cream, room temperature: The secret ingredient for incredible tang and smoothness.
- 3 large eggs, room temperature: Helps set the filling as it bakes.
- 1 ½ teaspoons pure vanilla extract: Enhances all the other flavors beautifully.
- Pinch of salt: Balances the sweetness and makes the flavor pop.
Step By Step
- Preheat your oven to 325°F (165°C). Line your 9×9 pan with parchment paper, leaving some overhang on two opposite sides to form a sling.
- Make the crust: In a medium bowl, stir together the graham cracker crumbs and sugar. Pour in the melted butter and mix until the crumbs are evenly moistened and resemble wet sand. Press this mixture firmly and evenly into the bottom of your prepared pan. Bake for 10 minutes, then set aside to cool slightly.
- Make the filling: While the crust cools, beat the room-temperature cream cheese with an electric mixer on medium speed until it’s completely smooth and creamy—about 2 minutes. Scrape down the bowl.
- Add the sugar and beat for another minute until combined. Beat in the sour cream and vanilla extract. Scrape the bowl down again.
- Add the eggs one at a time, beating on low speed just until the yolk disappears after each addition. Be careful not to overmix after adding the eggs. Overmixing incorporates too much air and can lead to cracks.
- Pour the filling over your pre-baked crust and spread it into an even layer. Give the pan a gentle tap on the counter to release any large air bubbles.
- Bake for 40-50 minutes. The edges will look set, but the center will still have a noticeable jiggle—like Jell-O—when you gently shake the pan. This is how you get that creamy center!
- Turn the oven off, crack the door open, and let the cheesecake sit in the residual heat for 1 hour. This gradual cooling helps prevent cracking.
- Remove the pan from the oven and let it cool completely on a wire rack before transferring it to the refrigerator. Chill for at least 4 hours, but overnight is best for the cleanest slices.
- Use the parchment paper sling to lift the chilled cheesecake onto a cutting board. Slice into squares with a sharp knife, wiping the blade clean between cuts for neat edges.
Classic Cheesecake Center Tips
- The single most important tip is to use room temperature ingredients. Cold cream cheese will never blend smoothly, leading to a lumpy batter.
- Don’t overmix the batter once the eggs are in. Mix just until combined to avoid incorporating extra air.
- That jiggle is your best friend. Pull the cheesecake out when the center is still wobbly. It will continue to set as it cools.
- That slow cool-down in the turned-off oven is non-negotiable for a crack-free top and perfect texture.
- Be patient with the chilling! I know it’s hard, but letting it firm up in the fridge is what gives you those clean, beautiful slices.
Cheesecake Decoration Ideas
Honestly, these squares are gorgeous all on their own, but a little decoration never hurt. A simple dusting of powdered sugar is always elegant. For a fresh pop of flavor and color, a spoonful of raspberry compote or a few fresh raspberries on top is divine. You can drizzle melted chocolate or even a caramel sauce for something extra indulgent. If you love that spiced cookie flavor, crumbled Biscoff cookies make a fantastic cheesecake topping. A dollop of whipped cream is never a bad idea, either.
Variations & Substitutions
- Gluten-Free: Use gluten-free graham-style crackers for the crust.
- Dairy-Free: Use your favorite plant-based cream cheese and sour cream alternatives. The texture will be slightly softer but still delicious.
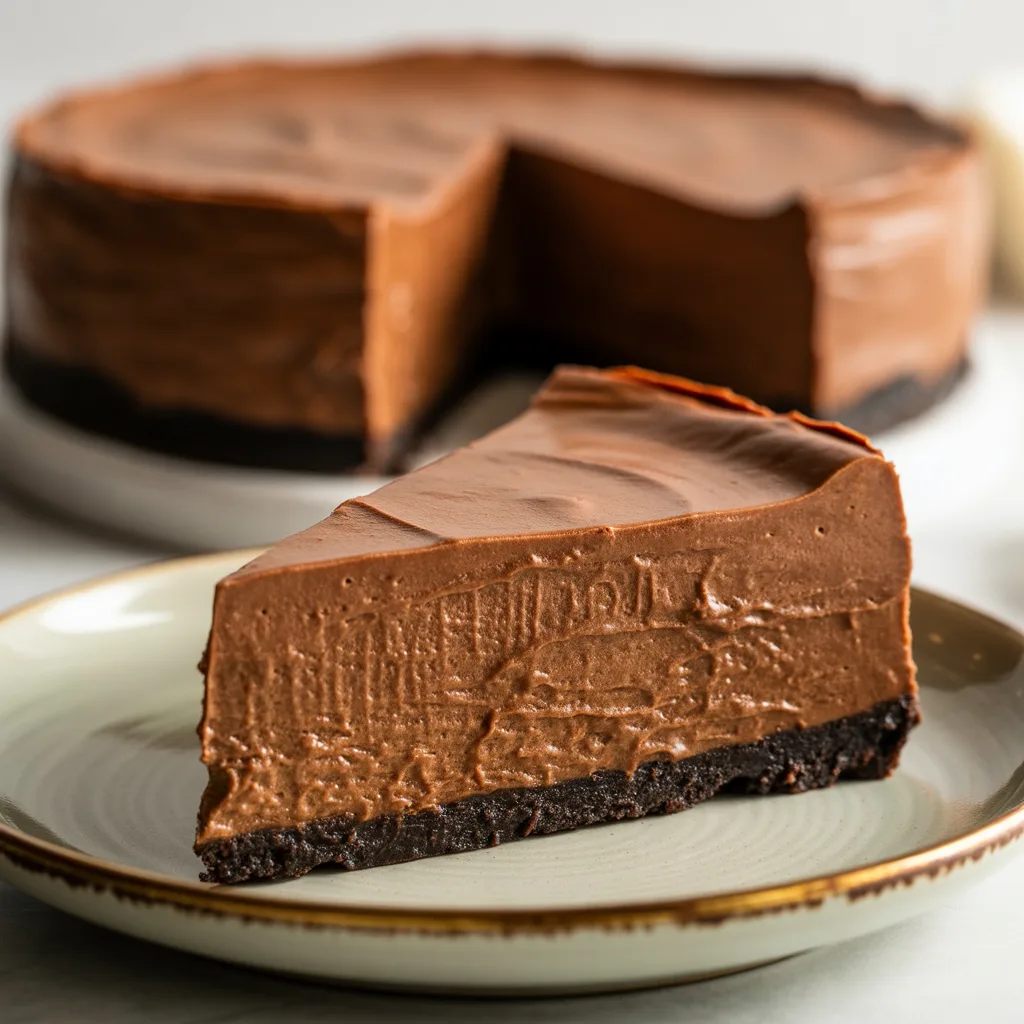
- Chocolate Swirl: Melt ½ cup of chocolate chips with a tablespoon of butter, let it cool slightly, then dollop it over the filling. Use a knife to swirl it through.
- Citrus Twist: Add the zest of one lemon or orange to the filling for a bright, sunny flavor.
- Different Crust: Feel free to swap the graham crackers for crushed vanilla wafers, Oreos (remove the filling first), or even pretzels for a salty-sweet situation.
Storage & Reheating
Store any leftover Classic Cheesecake Squares in an airtight container in the refrigerator for up to 5 days. They can also be frozen for up to 3 months. To freeze, place the squares on a parchment-lined baking sheet and freeze until solid, then transfer to a freezer-safe bag or container. Thaw overnight in the fridge before serving. Do not leave them at room temperature for more than 2 hours for food safety.
Frequently Asked Questions
- Can I make these into mini desserts? Absolutely! You can press the crust into a muffin tin lined with liners and divide the filling among them. Reduce the baking time to about 18-22 minutes.
- Why did my cheesecake crack? The most common reasons are overmixing the batter (adding too much air), overbaking, or cooling it too quickly. That slow cool in the oven is your best defense.
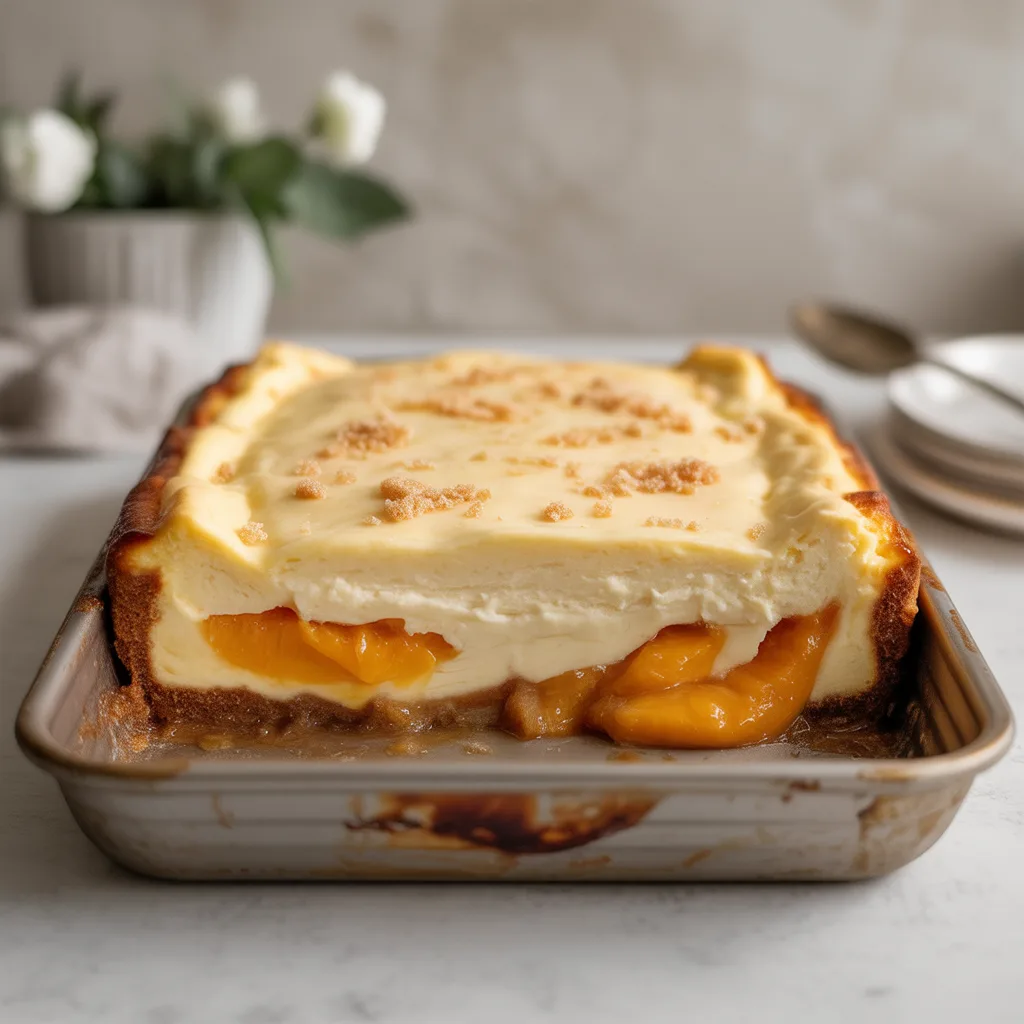
- What are the best cheesecake toppings? Fresh fruit like raspberries or strawberries, hot fudge, salted caramel, lemon curd, or even a simple fruit compote are all winners.
- Can I use low-fat cream cheese? I don’t recommend it for this recipe. Full-fat cream cheese provides the structure and rich, creamy texture that makes these squares so special.
")