Is there any dessert more universally loved than a truly great cheesecake? You know the kind—the one with a creamy, dreamy filling that’s rich but not heavy, perched on a crust that’s just sweet enough to keep you coming back for another bite. This recipe for Creamy Cheesecake with Honey Biscuit Crust is my answer to that classic craving. It’s the dessert I make when I want to impress without a ton of stress, and I think you’ll find it’s just as forgiving as it is delicious.
Why You’ll Love This
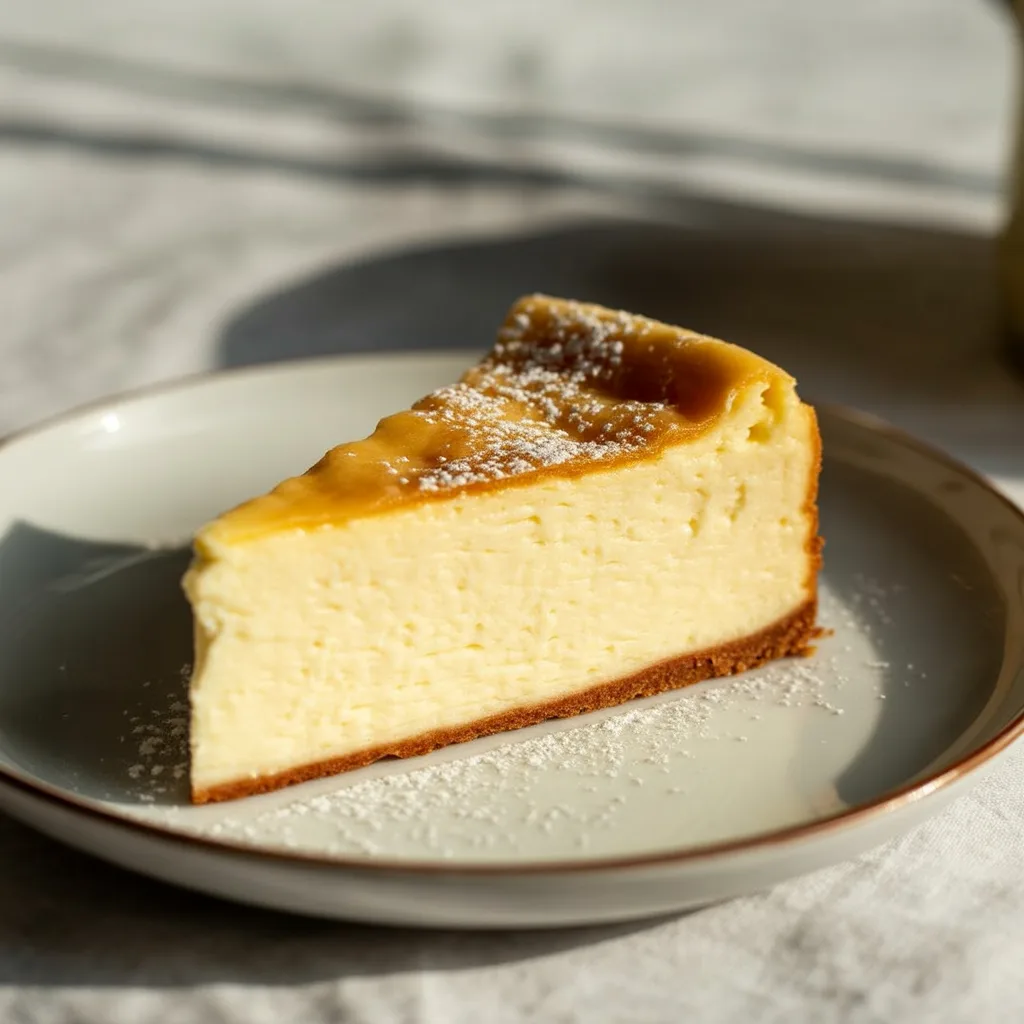
This cheesecake is the perfect balance of familiar comfort and a little something special. That honey-kissed biscuit crust? It’s a game-changer. It adds a warm, toasty flavor that you just don’t get from a standard graham cracker base. And the filling—oh, the filling. It’s so incredibly smooth and creamy. We’re talking cloud-level luxury here. Plus, the whole process is designed for confidence, not perfection. No water bath required, just straightforward steps for a stunning result.
Equipements Needed
- 9-inch springform pan (This is key for a clean release!)
- Stand mixer or hand mixer (For getting that filling super smooth.)
- Medium mixing bowl
- Spatula
- Measuring cups and spoons
Ingredients
- For the Honey Biscuit Crust: 2 cups finely crushed shortbread cookie crumbs (about 24 cookies), 6 tbsp melted unsalted butter, 3 tbsp honey (helps bind and adds flavor)
- For the Filling: 4 blocks (32 oz) full-fat cream cheese, softened, 1 cup granulated sugar, 1 cup full-fat sour cream, room temperature, 3 large eggs, room temperature, 1 tbsp pure vanilla extract, 1/4 tsp salt (balances the sweetness)
Step By Step
- Preheat your oven to 325°F. Wrap the bottom and sides of your springform pan tightly with a large piece of heavy-duty foil. This prevents any water from seeping in if you’re placing it in a water bath, though it’s not strictly necessary for this method.
- Make the crust: In a medium bowl, stir together the cookie crumbs, melted butter, and honey until it resembles wet sand. Press the mixture firmly and evenly into the bottom and about halfway up the sides of your prepared pan. Bake for 10 minutes, then set aside to cool slightly.
- Make the filling: In your mixer bowl, beat the softened cream cheese on medium speed until it’s completely smooth and no lumps remain. This is the secret to a crack-free top! Scrape down the sides of the bowl.
- With the mixer on low, gradually add the sugar. Then, beat in the sour cream and vanilla. Add the eggs one at a time, mixing just until each yolk disappears into the batter. Overmixing incorporates too much air and can cause cracking.
- Pour the filling into your slightly cooled crust and smooth the top. Bake for 55-65 minutes. The edges should be set, but the center will still have a slight jiggle when you gently shake the pan.
- Turn the oven off, crack the door open, and let the cheesecake cool inside for 1 hour. This gradual cooling is the final key to preventing cracks. Then, remove it from the oven and let it cool completely on a wire rack before refrigerating for at least 6 hours, but preferably overnight.
Cheesecake Decoration Ideas
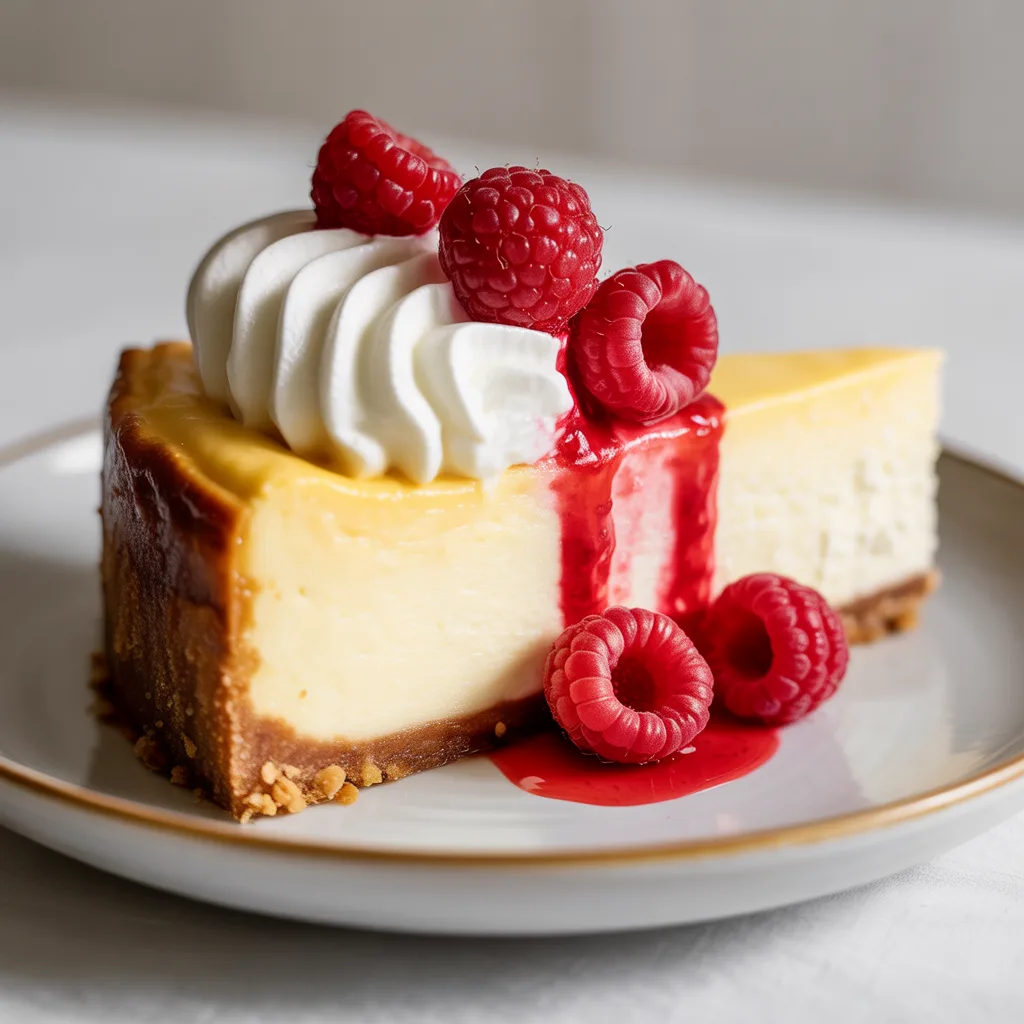
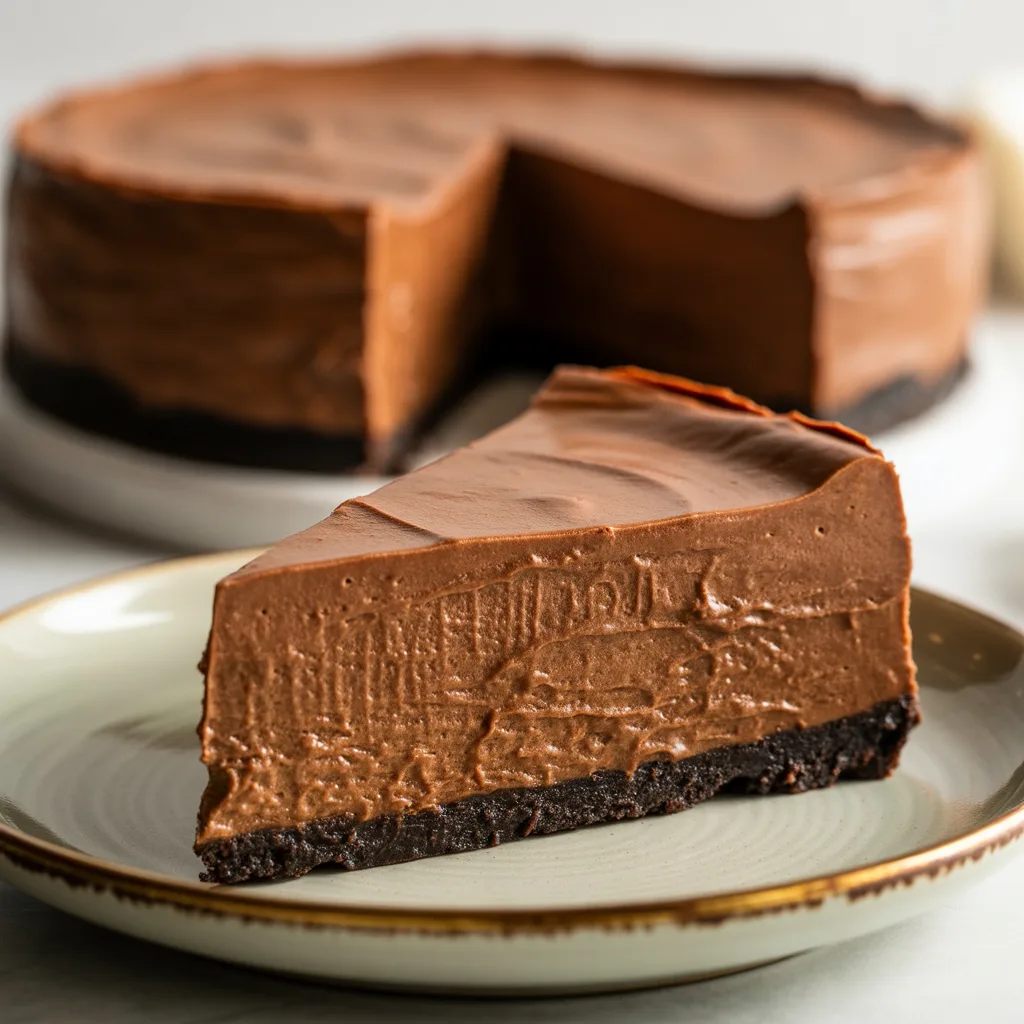
The beauty of this dessert is its incredible cheesecake aesthetic. A simple, elegant topping lets that gorgeous filling and unique crust shine. For a classic look, a swirl of fresh whipped cream and a cascade of ripe raspberries makes for a stunning raspberry cake effect. A drizzle of melted chocolate or a sprinkle of chocolate shavings is always a crowd-pleaser for any chocolate cake lover. For a more modern, minimalist vibe, a light dusting of powdered sugar and a few edible flowers are just beautiful.
Variations & Substitutions
This recipe is wonderfully adaptable. For a Biscoff cheesecake twist, use Biscoff cookie crumbs in the crust and swirl 1/2 cup of Biscoff spread into the filling before baking. If you need a gluten-free option, simply use your favorite gluten-free shortbread-style cookies for the crust. For the filling, you can use a 1:1 substitute like almond extract instead of vanilla for a different flavor profile. And if you’re looking for more cheesecake cake recipes, try baking this batter in two 9-inch cake pans for a layered showstopper.
Serving Ideas & Pairings
This creamy cheesecake is rich, so a little slice goes a long way. It’s fantastic with a cup of strong black coffee to cut through the sweetness or a glass of cold milk for the ultimate comfort pairing. For a dinner party, consider offering an array of mini desserts by slicing smaller portions and serving them with different cheesecake toppings like fresh fruit compote, salted caramel sauce, or a berry coulis. So good.
Storage & Reheating
Store any leftovers covered tightly in the refrigerator for up to 5 days. This cheesecake also freezes beautifully for up to 3 months. To freeze, place the cooled cheesecake (without toppings) on a baking sheet in the freezer until solid, then wrap it tightly in a few layers of plastic wrap and foil. Thaw overnight in the fridge before serving. I don’t recommend reheating it; cheesecake is best enjoyed cold!
Frequently Asked Questions
- Q: Why is room temperature ingredients so important? A: It’s the key to a smooth, lump-free batter. Cold ingredients don’t incorporate as well and can lead to overmixing.
- Q: My cheesecake cracked! What did I do wrong? A> Don’t worry! It happens to the best of us. The most common culprits are overmixing the batter or cooling it too quickly. The good news is, that’s what whipped cream and delicious cheesecake decorations are for!
- Q: Can I make individual portions? A: Absolutely! This recipe is perfect for mini desserts. Just divide the crust and filling among a muffin tin lined with liners and reduce the baking time to about 20-25 minutes.
")